
Raspberry Pi Linux DAB FM Digital Radio

 In the last 12 months, Windows users and developers have been constantly providing feedbacks and suggestions on how to make the DLL better. We listened to each and every suggestions and worked really hard on the DLL. Our test machine for Windows ran more than 3 months non-stop without crashing whilst controlling the radio. With this kind of stability we decided that it is about time to declare Windows DLL stable and move on to other OS.
We have many requests for Linux driver in the past from our customers and we wish to tell you that listening to customers is always our priority. The reason why it took us so long was because we do not wish to release something that is buggy that will waste developers precious time. Focusing on the Windows DLL and make it as robust as possible helps create a strong foundation when we port the codes to other platforms. The other reason was it was hard working with Linux RAW serial port. We have many failure attempts before coming to this beta release. Timing difference and behaviour difference were hard to tackle especially the DTR, RTS and also the timeouts.
In this tutorial, we will quickly go through DABMonkey in Raspberry Pi and later in PC running Ubuntu using our beta Linux library.
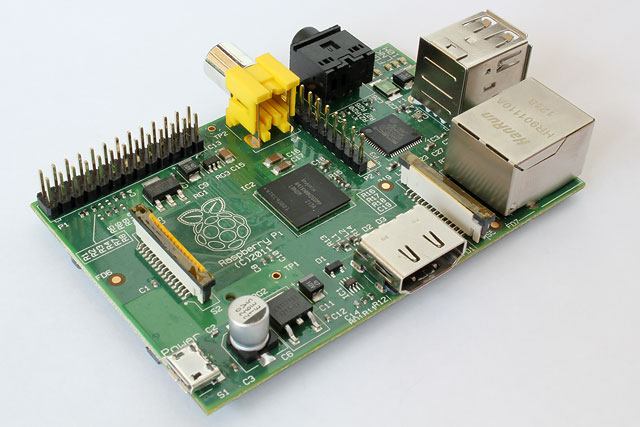
Hooking DABMonkey to Raspberry Pi or Linux
When the board is plugged into the system's USB, a tty device will be created. Execute the dmesg command after plugged in the board will produce the following result for version 1.1 and 1.2 board.
dmesg
[ 2898.566001] usb 1-1.2: new full-speed USB device number 5 using dwc_otg
[ 2898.670162] usb 1-1.2: New USB device found, idVendor=04d8, idProduct=000a
[ 2898.670192] usb 1-1.2: New USB device strings: Mfr=1, Product=2, SerialNumber=0
[ 2898.670209] usb 1-1.2: Product: CDC RS-232 Emulation Demo
[ 2898.670223] usb 1-1.2: Manufacturer: Microchip Technology Inc.
[ 2898.677744] cdc_acm 1-1.2:1.0: This device cannot do calls on its own. It is not a modem.
[ 2898.677850] cdc_acm 1-1.2:1.0: ttyACM0: USB ACM device
From the result, /dev/ttyACM0 was created.
Using Raspberry Pi Precompiled Library
With Raspberry Pi properly setup and able to access the internet, run the following commands:
Old DAB Pro Board
wget http://www.monkeyboard.org/images/products/dab_fm/raspberrypi_keystone.tgz
tar -xvzpf raspberrypi_keystone.tgz keystonecomm/
cd keystonecomm/KeyStoneCOMM/
sudo make install
cd ../app/
make
sudo ./testdab
New DAB Pro2 Board
wget https://www.monkeyboard.org/images/products/dab_fm_pro2/raspberrypi_dabpro2.tgz
tar -xvzpf raspberrypi_dabpro2.tgz keystonecomm/
cd keystonecomm/KeyStoneCOMM/
sudo make install
cd ../app/
make
sudo ./testdab
Using Ubuntu PC Precompiled Library
With an Ubuntu PC properly setup and able to access the internet, run the following commands:
Old DAB Pro Board
wget http://www.monkeyboard.org/images/products/dab_fm/ubuntupc_keystone.tgz
tar -xvzpf ubuntupc_keystone.tgz keystonecomm/
cd keystonecomm/KeyStoneCOMM/
sudo make install
cd ../app/
make
sudo ./testdab
New DAB Pro2 Board
wget http://www.monkeyboard.org/images/products/dab_fm_pro2/ubuntupc_dabpro2.tgz
tar -xvzpf ubuntupc_dabpro2.tgz keystonecomm/
cd keystonecomm/KeyStoneCOMM/
sudo make install
cd ../app/
make
sudo ./testdab
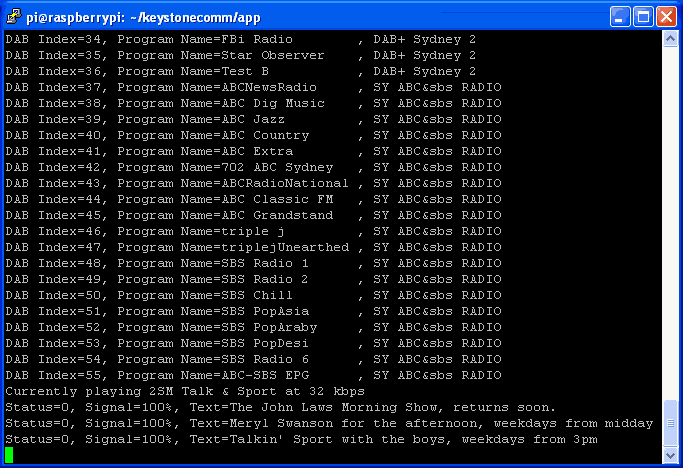 Screenshot showing the result of executing the testdab application
NOTE: To avoid using sudo for application accessing the serial port, create a udev rules file 75-microchip.rules at /etc/udev/rules.d directory with the following content:
#DAB Serial Port
KERNEL=="ttyACM0", ATTRS{idVendor}=="04d8", ATTRS{idProduct}=="000a", MODE="666", GROUP="ubuntu"
Change the GROUP="ubuntu" to the user group you want the application to access from. Reboot the system and /dev/ttyACM0 will have proper permissions and group attached to it.
The testdab.cpp was written in the simplest possible form in C for easy understanding and produces results in text. It serves as a starting point for developers to create their own application. We will be happy to see soon developers creating network based DAB Radio with SlideShow display on the web.
Update 29th March 2013
A developer named 68070 from Germany just sent us his network controlled DAB software using the Ubuntu driver together with source here.
After running, the app listen to a default TCP port 20000. Example commands are:
"echo "8" | netcat localhost 20000"
"echo "v" | netcat localhost 20000"
Please read the Readme.txt in the zip file for more information. Thanks 68070.
Note: Developer wishing to obtain the source code please contact our support. Please take note that Virtual Machine is not supported due to timing requirements.