
Using LabView to control the DAB DAB+ FM Digital Radio Board

 Introduction
Controlling the DAB FM Digital Radio Board has becoming even easier now with the LabView VIs for the DAB FM board. All function in the keystonecomm.dll has been ported to LabView’s VIs. User can now run each and every function manually and check the function return. Interfacing the radio board to other applications in LabView can be done in LabView's control interface.
How to install?
If you already have LabView, just proceed to next step. User without LabView will need to download the trial version of LabView from here http://www.ni.com/trylabview/
Follow LabView installer’s instruction to finish the installation, while waiting for LabView to finish the installation, download the Keystonecomm Vis from here http://www.monkeyboard.org/images/products/dab_fm/keystonecomm_labview.zip
After the LabView installation finished, unzip keystonecomm_labview.zip to user.lib folder that normally looks like the following structure
C:\Program Files\National Instruments\LabVIEW 2012\user.lib\keystonecomm
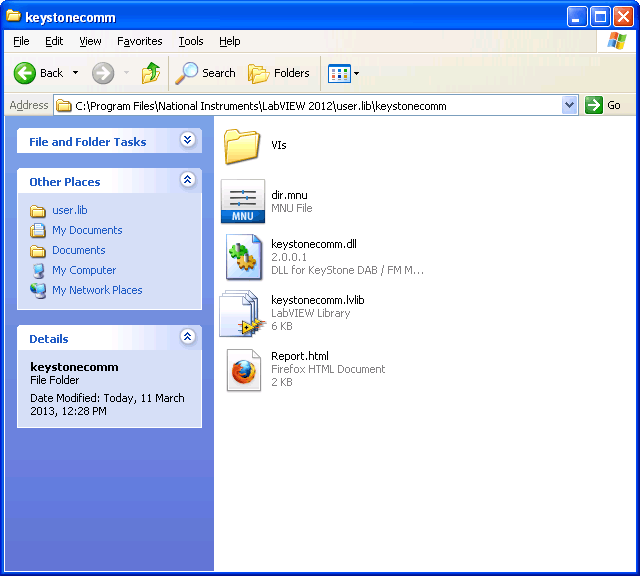 Extracted folder
Running the KeyStoneCOMM VIs
Double click keystonecomm.lvlib and a full list of the DAB functions will be displayed on the Main Application Instance window like below:
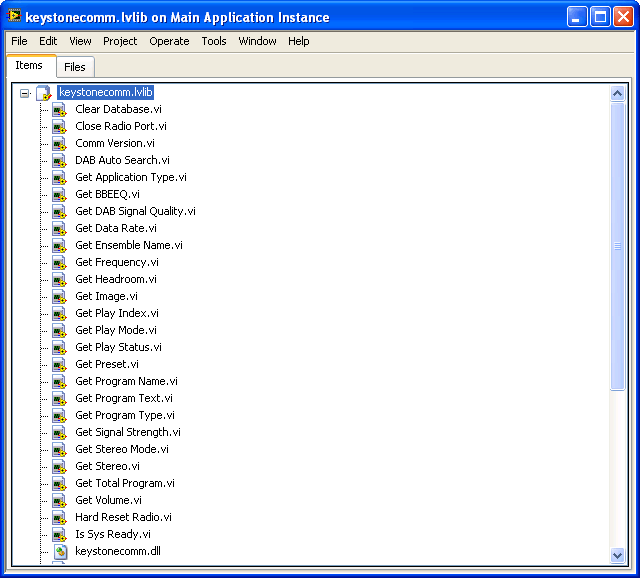 DAB functions list
Before starting to test the radio's functions with LabView, it is best to run the board with our demo program first, perform a complete DAB auto scan and ensure all radio channels are properly tuned and received.
To quickly demonstrate the functionalities, only 4 functions are required to start:
- Open Radio Port
- Set Volume
- Play Stream
- Get Play Status
Double click on the above 4 functions and arrange them in the following order.
|
|
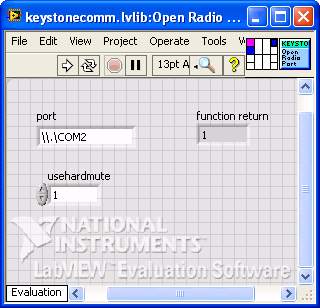
Step 1 - Open Radio Port
Enter 1 in the usehardmute field.
Click Run.
Check the function return 1 for a successful return. |
|
|
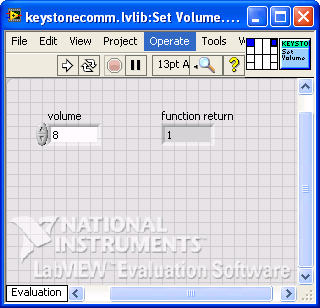
Step 2 - Set Volume
Click Run.
Check the function return 1 for a successful return. |
|
|
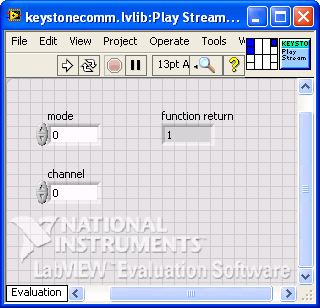
Step 3 - Play Stream
Enter 0 in the channel field to select playing of DAB index 0.
Click Run.
Check the function return 1 for a successful return.
Note: To tune to FM 94.5Mhz, enter 1 in mode field, 94500 in channel field, then click Run. Remember to execute step 4 each time after changing channel. |
|
|
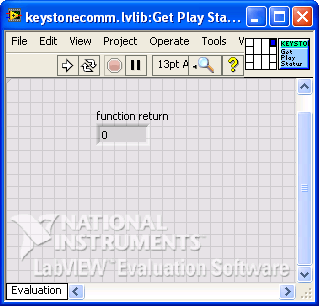
Step 4 - Get Play Status
Note: You can now repeat steps 2 to change volume or step 3 to change channel. After changing the radio channel, remember to execute step 4 to check the radio status and this function will also release the hardware mute. |
In 4 easy steps, we have just successfully controlled the DAB radio using LabView. To fully utilise the functionalities of the board, please refer to the DAB DAB+ FM module Programming API.
|
|
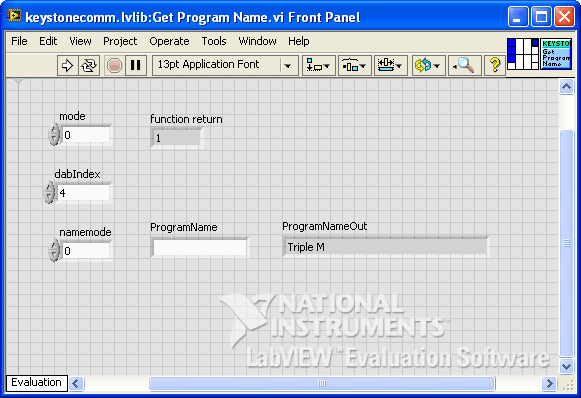
Step 5 - Get Program Name
|
|
|
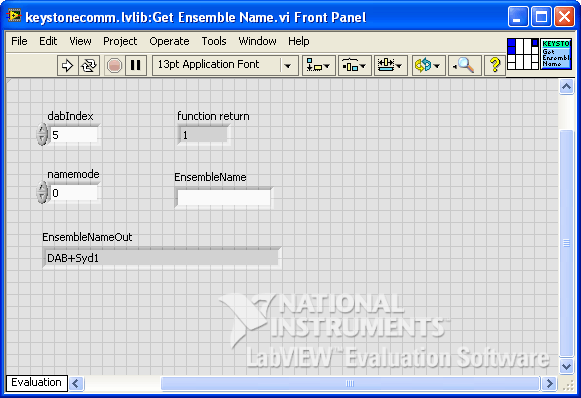
Step 6 - Get Ensemble Name
|
|
|
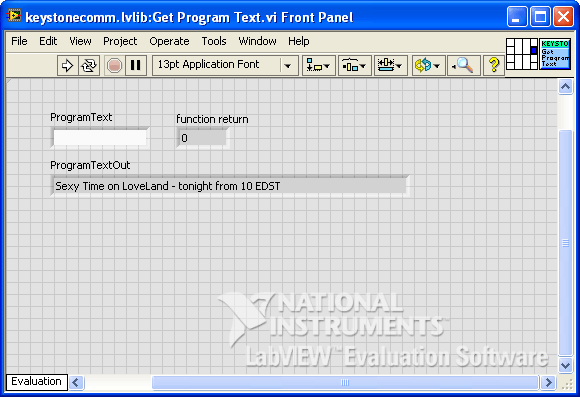
Step 5 - Get Program Text
|
NOTE: LabView itself is a very powerful tool and requires a great knowledge to use. This tutorial serve as an example of how LabView could call our DLL and is never our intention or hint that the radio board fully support LabView. We will not be able to support any development using LabView currently or in any near future as none of us has use LabView before. Our DLL has been fully tested in VB, VC and also C# by many of our customers.
Alternative LabView examples from customer
For another version of LabView usage, please check out our customer Mauro Arcangeli's website, lots of documentation and examples.